At the end of last year I created a fantastic paleo apple crisp recipe that my husband and I both love. When I was developing that recipe, I wanted to come up with a version that used coconut flour instead of almond flour for my nut-free readers, but none of my attempts came out right.
My regular readers will know that earlier this year I was diagnosed with leaky gut and started the autoimmune paleo (AIP) diet as part of my functional medicine healing protocol. AIP strictly excludes all grains, legumes, dairy, eggs, nuts, seeds, and nightshades. So, that means no almond flour. Dang it!
I revisited this recipe and was determined to make a coconut-based topping work this time.
I knew that I had to add something to go with the coconut flour to fix the texture issues I was having when I simply swapped coconut flour for the almond flour in my original recipe. I knew that increasing the yuca flour wasn't the answer, so I started to consider using other coconut products.
My friend Jessica at Delicious Obsessions has a real knack for developing creative recipes that use a wide range of coconut products. I found inspiration when reading over her amazing Jam-Filled Thumbprint Cookies recipe. It made me realize that the missing ingredients in my topping were coconut shreds and coconut butter (aka Coconut Manna).
I tried two versions of this recipe: one with the coconut butter and one without. Both are amazing! To make this without using coconut butter, just increase the coconut oil used to 1/3 cup, adding extra if the dough feels too dry. It should still be crumbly yet moist.
You can use any type of apple that you like in this recipe -- Granny Smith just happen to be my favorite kind :-)
Autoimmune Paleo Apple Crisp
A delicious Fall treat that's autoimmune paleo and allergy-friendly!
Prep time: 15 minutes
Cook time: 30-40 minutes
Total time: 45-55 minutes
Yield: 6 servings
Ingredients
- 7-9 small Granny Smith apples (about 1.5 lbs), peeled, cored, and cut into wedges
- 1 tsp cinnamon
- juice of 1/2 lemon
- 3/4 cup shredded coconut (unsweetened)
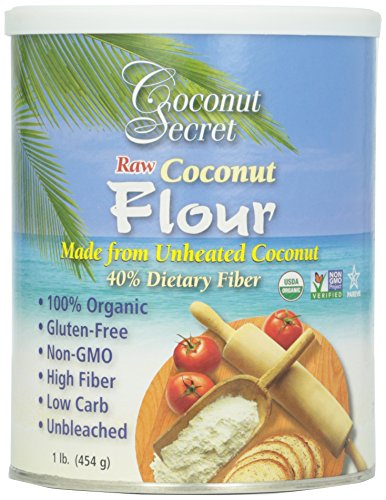
- 1/3 cup coconut flour
- 1/3 cup sucanat
- 1/4 cup coconut butter, softened
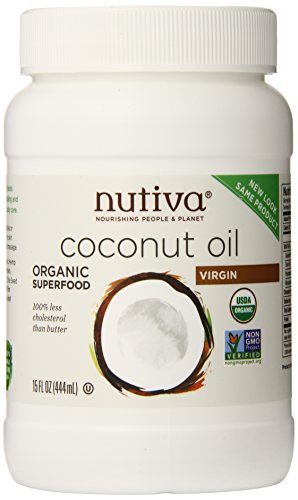
- 1/4 cup coconut oil, softened or melted
- 3/4 tsp cinnamon powder (or, if tolerated, pumpkin pie spice blend)
- few pinches unrefined salt
For the Filling
For the Topping
Cooking Directions
- Preheat oven to 350 degrees Fahrenheit. If necessary, soften your coconut oil and coconut butter by placing the jars in a bowl filled with hot water for several minutes.
- Peel and core the apples, then slice into about 6-8 wedges per apple. Place wedges in a medium/small baking dish -- I use a vintage dish that's about 2 quarts (it measures almost 11"x9"). If your baking dish is a lot larger, you will need to increase the amount of topping so that all the apples are covered. If it's smaller, either decrease the amount of topping or you may need to increase the cooking time to compensate for a thicker topping layer.
- Squeeze lemon juice and sprinkle cinnamon on top of the apple wedges and toss with a spoon to coat them evenly.
- Add coconut shreds, coconut flour, sucanat, cinnamon powder (or pumpkin pie spice blend, if using), and unrefined salt to a mixing bowl and stir to combine evenly. I like to use my pastry blender to do this.
- Add coconut butter and coconut oil to the dry ingredients and use the pastry blender to form the dough. Finish the dough with your hands, kneading it gently until it reaches a smooth consistency. It should be moist, yet crumbly. Add additional coconut oil if it feels too dry.
- Crumble the topping on top of the apple wedges and use your fingers to press it down, forming a crust.
- Bake at 350F until done, about 30-40 minutes. The topping should be golden brown.
- Let cool about 5 minutes outside of the oven, then dig in and enjoy! If you have any leftovers, they keep well in the fridge in a covered container for several days. Just reheat for a few minutes in the oven when you're ready to eat them.
This apple crisp begs to be paired with a tasty hot beverage -- choose your favorite! I had it with a cup of Crio Bru the other day and that combo is THE. BEST. EVER. But, unfortunately, isn't for you if you haven't reintroduced chocolate yet (which, by the way, if you are ready to do, I have the perfect recipe to do it with!)
Recommended Ingredients
Links below are to products that I personally use and trust and think you will love, too! They are affiliate links. I appreciate your support :-) Click on any picture to check out the product on Amazon.com.


